After posting of Icons collection I got an idea to create own icons. First of all I Download the Gimp it is like a Photoshop and created the Mobile icon for me by follow steps. Before take a look in Windows Essential software posting for the details of Gimp or visit the www.Gimp.org .
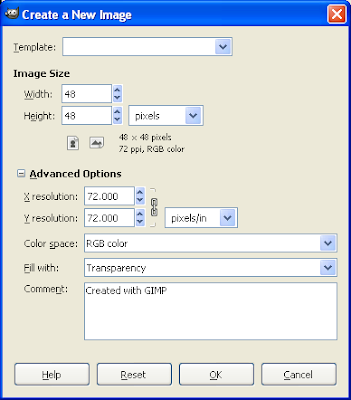
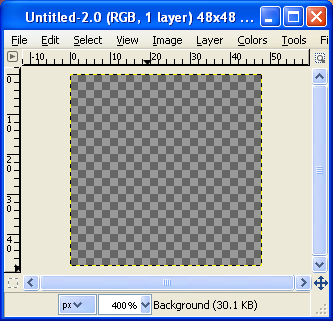
First Install and open the Gimp application and create the 48x48 pix size new file with background transparent.
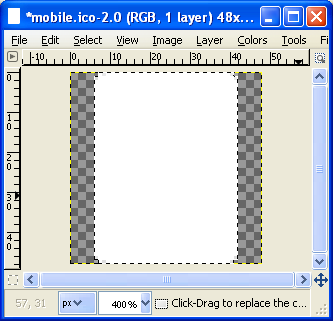
Select the Rectangle Selector with 2 radius Round corner and 1 radius Feather edges from toolbox in left-side. And create the rectangle shape with 46x48 and fill it with white color by paint bucket.
First Install and open the Gimp application and create the 48x48 pix size new file with background transparent.


Select the Rectangle Selector with 2 radius Round corner and 1 radius Feather edges from toolbox in left-side. And create the rectangle shape with 46x48 and fill it with white color by paint bucket.

Tools:
Create the new layer by clicking layer window in the right-side of the Gimp tool window as shown below.
Rectangle shape same as above but smaller then above and fill with the Green color.
Create new layer and name it as screen and create the rectangle shape and drag with blend tool with gray color as shown below.
Create new layer as show as above and name it as keys and draw the key buttons with the help of ellipes selecter tool and fill It with white color as shown below.
And finally create the new layer and name it as glass effect and select ellipse selector in the left-side of the Gimp toolbox and create oval shape in the left-top of the image window and fill it with white color and set the Opacity is 30.0 in the layer window and the final result is. And save it as mobile.ico with 32 bits.


